ubuntu 18.04下源码编译安装nginx1.18版本,此版本 -> 1.2x最新版本也同样适用
首先是安装依赖包(习惯了centos的话,在ubuntu下安装软件包名是不同的,需要更改安装的包名名称)
安装目录:/usr/local/nginx/
源码包目录:/data/source/
# 安装依赖包
apt install gcc g++ unzip bzip2 zlib1g zlib1g-dev libpcre3 libpcre3-dev openssl \
libssl-dev libgeoip1 libgeoip-dev libgeoip-dev make libtool build-essential libgd-dev -y
蓝奏网盘打包打包下载 pcre|zlib|openssl 密码:8omn
# 下载源码包解压
cd /data/source/
wget https://deac-riga.dl.sourceforge.net/project/pcre/pcre/8.44/pcre-8.44.tar.gz
wget https://www.zlib.net/fossils/zlib-1.2.13.tar.gz
wget https://www.openssl.org/source/old/1.1.1/openssl-1.1.1f.tar.gz

tar xf pcre-8.44.tar.gz
tar xf zlib-1.2.13.tar.gz
tar xf openssl-1.1.1f.tar.gz
安装nginx
# 创建运行用户
useradd -M -s /sbin/nologin

# 下载源码包
cd /data/source/
wget http://nginx.org/download/nginx-1.18.0.tar.gz
tar xf nginx-1.18.0.tar.gz

cd nginx-1.18.0/
./configure \
--prefix=/usr/local/nginx \
--pid-path=/var/run/nginx.pid \
--lock-path=/var/run/nginx.lock \
--http-client-body-temp-path=/usr/local/nginx/client_temp \
--http-proxy-temp-path=/usr/local/nginx/proxy_temp \
--http-fastcgi-temp-path=/usr/local/nginx/fastcgi_temp \
--http-uwsgi-temp-path=/usr/local/nginx/uwsgi_temp \
--http-scgi-temp-path=/usr/local/nginx/scgi_temp \
--user=nginx \
--group=nginx \
--with-mail \
--with-stream \
--with-threads \
--with-file-aio \
--with-poll_module \
--with-select_module \
--with-http_v2_module \
--with-http_flv_module \
--with-http_mp4_module \
--with-http_sub_module \
--with-http_dav_module \
--with-http_flv_module \
--with-http_ssl_module \
--with-http_geoip_module \
--with-http_slice_module \
--with-http_gunzip_module \
--with-http_realip_module \
--with-http_addition_module \
--with-http_image_filter_module \
--with-http_gzip_static_module \
--with-http_random_index_module \
--with-http_secure_link_module \
--with-http_degradation_module \
--with-http_stub_status_module \
--with-mail_ssl_module \
--with-stream_ssl_module \
--with-stream_realip_module \
--with-stream_ssl_preread_module \
--with-pcre=/data/source/pcre-8.44 \
--with-openssl=/data/source/openssl-1.1.1f \
--with-zlib=/data/source/zlib-1.2.13

# 编译/安装(编译时间稍长,慢慢等待)
make && make install

#配置环境变量
echo 'export PATH=$PATH:/usr/local/nginx/sbin' >> /etc/profile && source /etc/profile
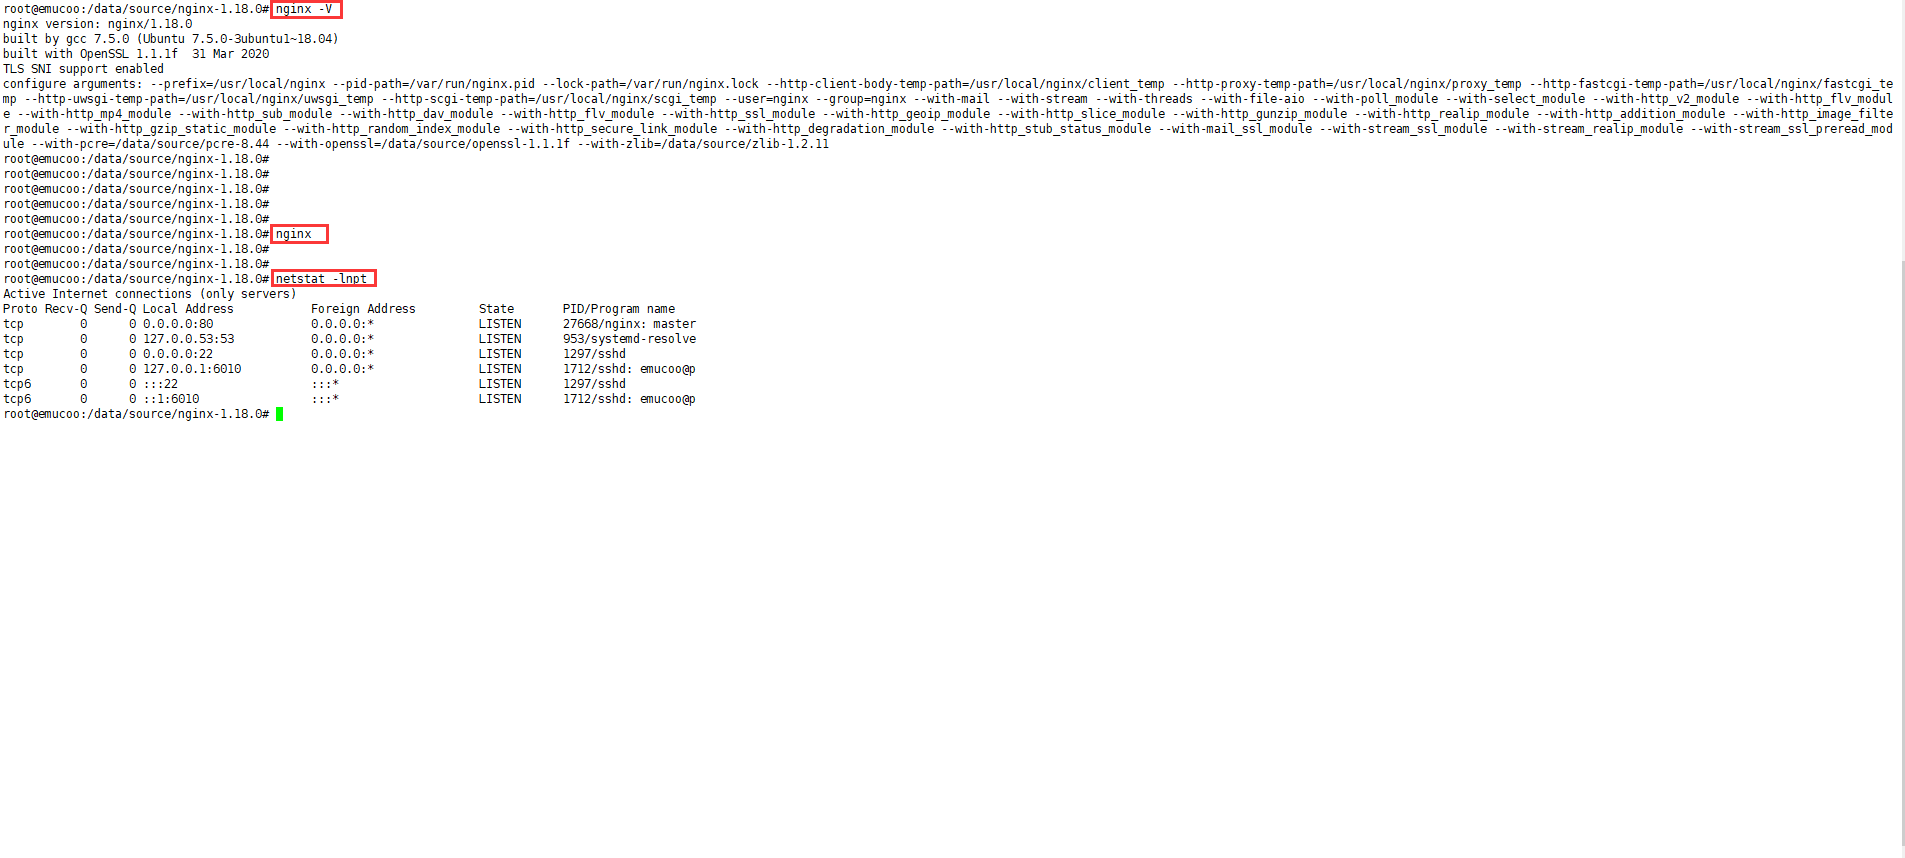
启动nginx
# 验证nginx
nginx -V

# 启动
nginx

# 查看端口
netstat -lntp
类似博文:
本文最后记录时间 2024-04-10
文章链接地址:https://me.jinchuang.org/archives/941.html
本站文章除注明[转载|引用|来源],均为本站原创内容,转载前请注明出处
文章链接地址:https://me.jinchuang.org/archives/941.html
本站文章除注明[转载|引用|来源],均为本站原创内容,转载前请注明出处


